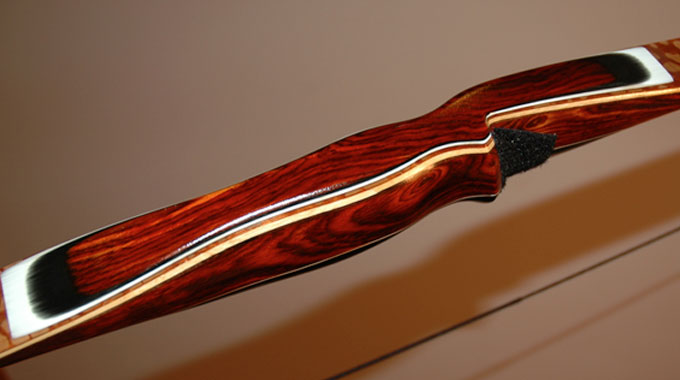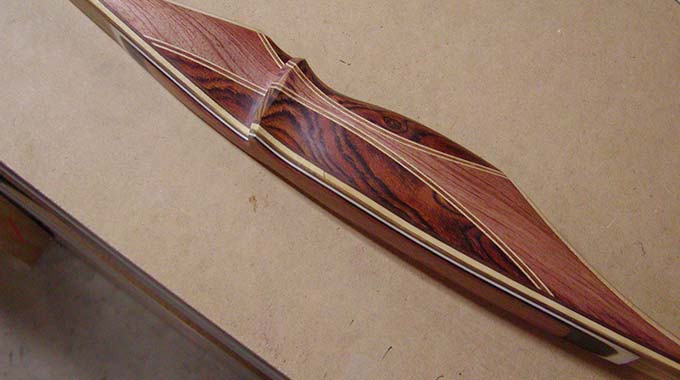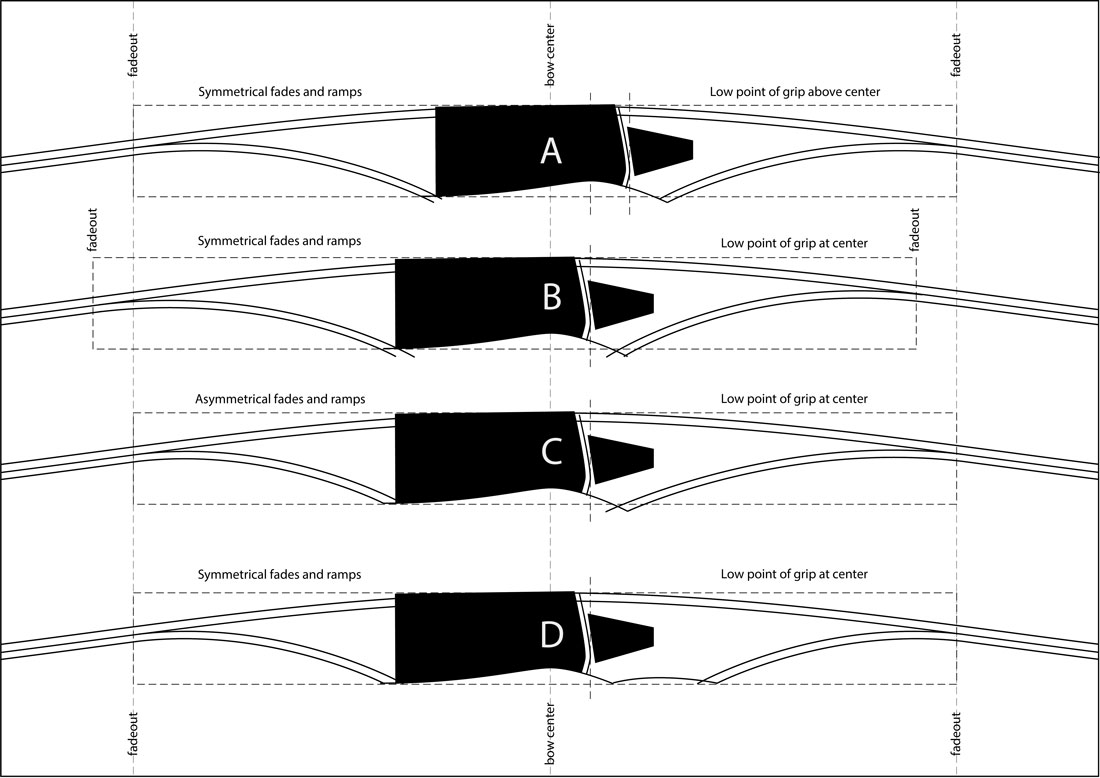
Comparing longbow riser layouts
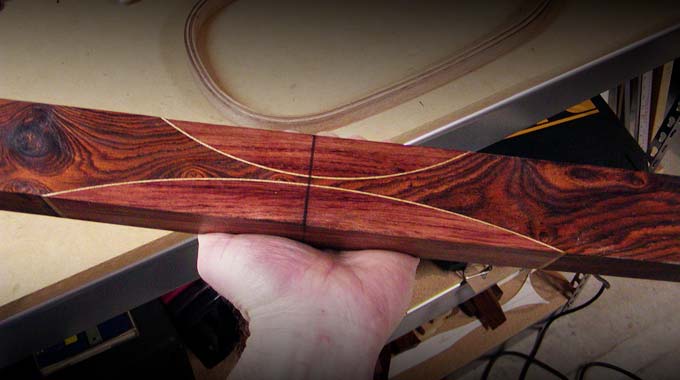
I’ve experimented with making longbows with four different riser layouts. Riser A represents probably the simplest layout. It puts the grip portion centered at bow center. For example, a 4” grip will be 2” above bow center and 2” below…